Application Insight, a monitoring service offered by Microsoft Azure. With the help of Application Insight, we can monitor the performance of the application. It can be used to assess the live web app as well. It has very useful data analytics tools which empower people to easily diagnose problems related to applications and servers.
Features of application insights:
- Request and response capture
- Dependency capture
- Exception logging
- Page views
- Loading performance and diagnostics
- User sessions
- Custom events and metrics
- Many more…
To use Azure, we need to subscribe to it, and we would also need Azure credits. You can register on https://portal.azure.com and get a 30 day free trial or you can activate a Microsoft developer license which gives you access to this portal and azure services.
The application insights provide a lot of integration with almost all technologies out there in the market whether it's ASP.NET, Angular, NodeJS, etc. Nowadays, it is the most extensively used service by almost all big players in the market.
Agenda: In this example, the Asp.net application Development company will be developing an ASP.NET core of 3 apps. We also integrate the application insights services to get the performance insights, including errors and logs. We also are creating application insights resources in the Azure portal. An additional library, NLog, that offers the flexibility to capture logs in an improved manner will be used as well.
Pre-requisite:
- Visual Studio 2019
- Subscription to Azure portal with Azure credits
Creating an Application insight resource in Azure portal
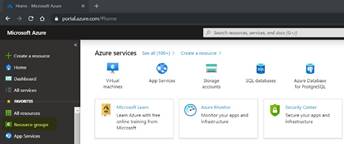
Step 1: Create an account on Azure portal (https://portal.azure.com) and login.
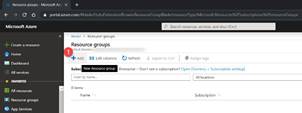
Step 2: Create a resource group and an application insight resource within it.
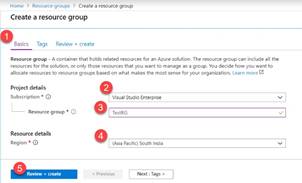
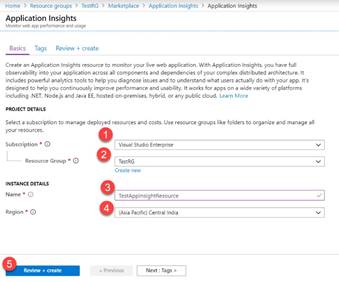
Step 3: Select your subscription and enter a valid resource group name. It can be anything and a green tick in front of it shows its availability.
Step 4: After creating the resource group, make an application insight resource under the resource group.

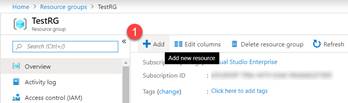
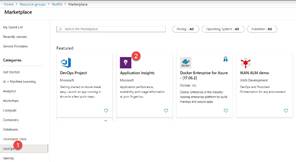
As shown below, click the add button. Then, search “DevOps”. Under this category, you will find “Application Insights”. Click on it.
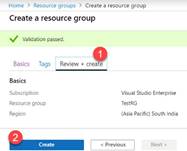
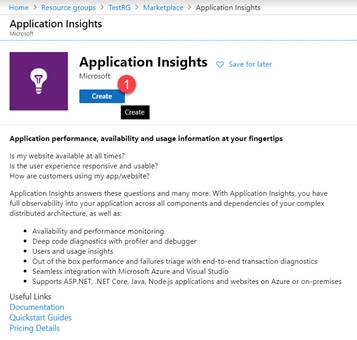
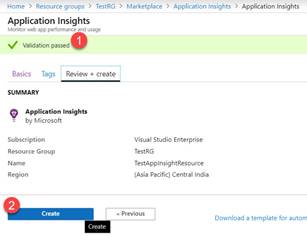
Step 5: Click the “Create” button to get the options to add AppInsights resource’s name. If the name of such resource is valid, you will get a green tick.
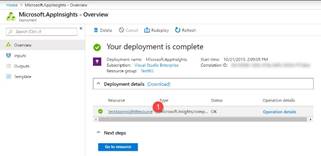
Step 6: Lastly, create the resource. Then, Azure will deploy the resource under the resource group.
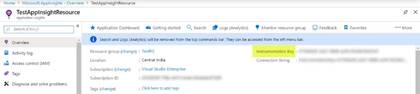
For all the integrations to any type of application, we just need an “Instrumentation Key” that uniquely belongs to an Application insight resource.
After the setup is done, we will do application integration.
Creating an ASP.NET Core 3 App and configuring application insights
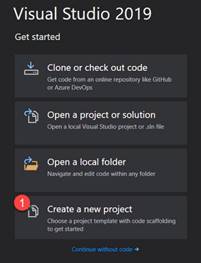
Step 1: Start Visual Studio 2019 and Create a new project.
Step 2: Select ASP.NET Core Web Application from Project templates.
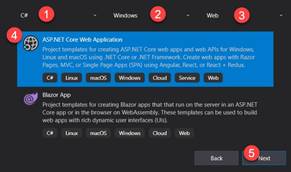
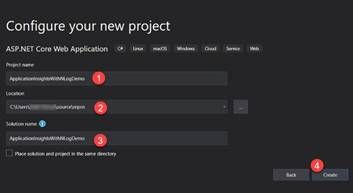
Step 3: Name the project as per your need and click on Create button.
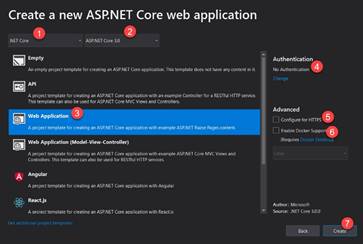
Step 4: Select .NET Core and Version as 3.0 from the selection boxes and select Web Application from the templates.
We don’t need authentication, so untick that option along with Https option. Finally to create project, click on create button.
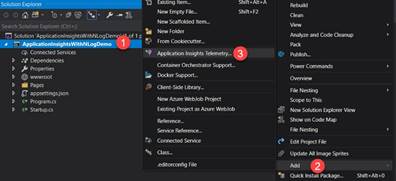
Step 5: Once the project is created successfully, right click on project name and go to Add -> New Item -> Application Insights Telemetry.
Step 6: Click on Connected Services. Look for Application insights as one of the choices in the window.
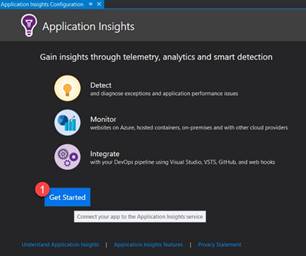
Step 7: Click Get Started button to add the Nuget packages that parallels with the application insight to the project.
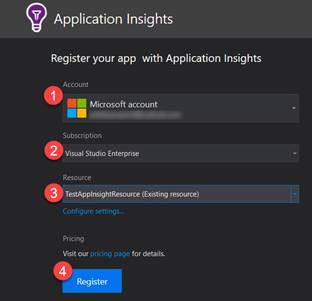
Step 8: Login to your Microsoft account with the same credentials that you used to create your Azure account. After logging in, the application insights resource will be depicted automatically. Select the resource and Click Register.
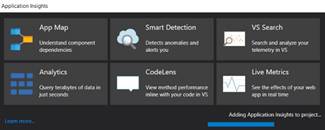
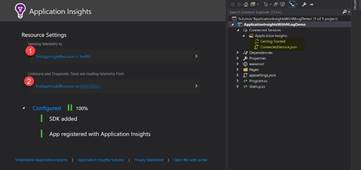
After following all the steps the integration of application insights in the ASP.NET core app is completed. We will now explore the main areas where dependencies are registered in the application.
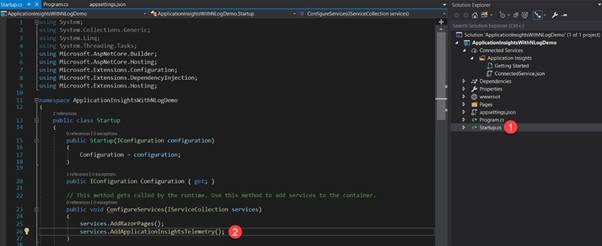
Startup.cs file is the start point of the app. Azure application insight service is implemented within the Configure Services method.

ALSO READ
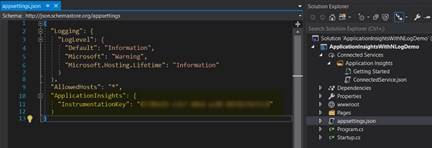
The instrumentation key is referenced in the appsettings.json file. For using any application insight resource later on as well, the users will be required to replace the instrumentation key with a new one. That’s all.
Configuring NLog to define target to send telemetry to application insights
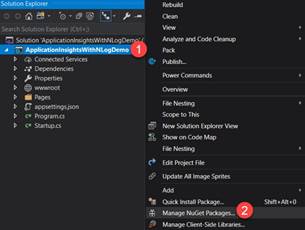
Step 1: Right click on the name of the project in the solution explorer. Afterwards, click the Manage nuget packages.
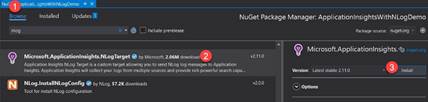
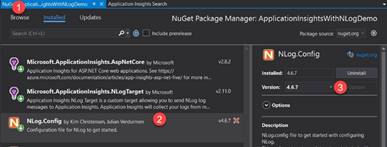
Step 2: 3 packages are required to be installed to configure NLog.
1. NLog.Web.AspNetCore – It will install the base dll’s for NLog suppor. This can be done for the.net core projects.
2. Microsoft.ApplicationInsights.NLogTarget – this package will install a dll that allows NLog to send telemetry to Azure portal.
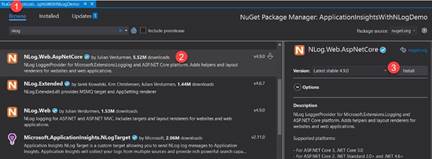
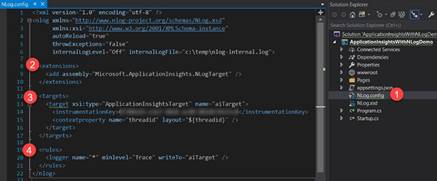
3. NLog.config – this package will add a configuration file to the project where we can define targets. This file will be read by NLog to capture logs.
Step 3: After installing all the required packages, we have to configure NLog in the project pipeline so that .net core knows about NLog.
Replace the code in NLog.config file with the below.
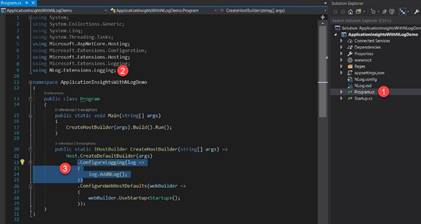
Secondly, configure NLog in Program.cs file to capture logs at the application start.
Now, we are done with all configurations and setup. Let’s run the application in debug mode and check if logs are going into Azure portal.
Navigate through the links in the app. With this, relatively more logs can be generated. After then, log in to the Azure portal to review all the logs.
NLog allows several targets at the same time, therefore, it is preferred extensively. In the example here, we only configured one target. However, only by modifying the NLog.config file with new targets and the related rules, we can send telemetry to other targets, including the files, database, and other services.

Recent Blogs
Categories


